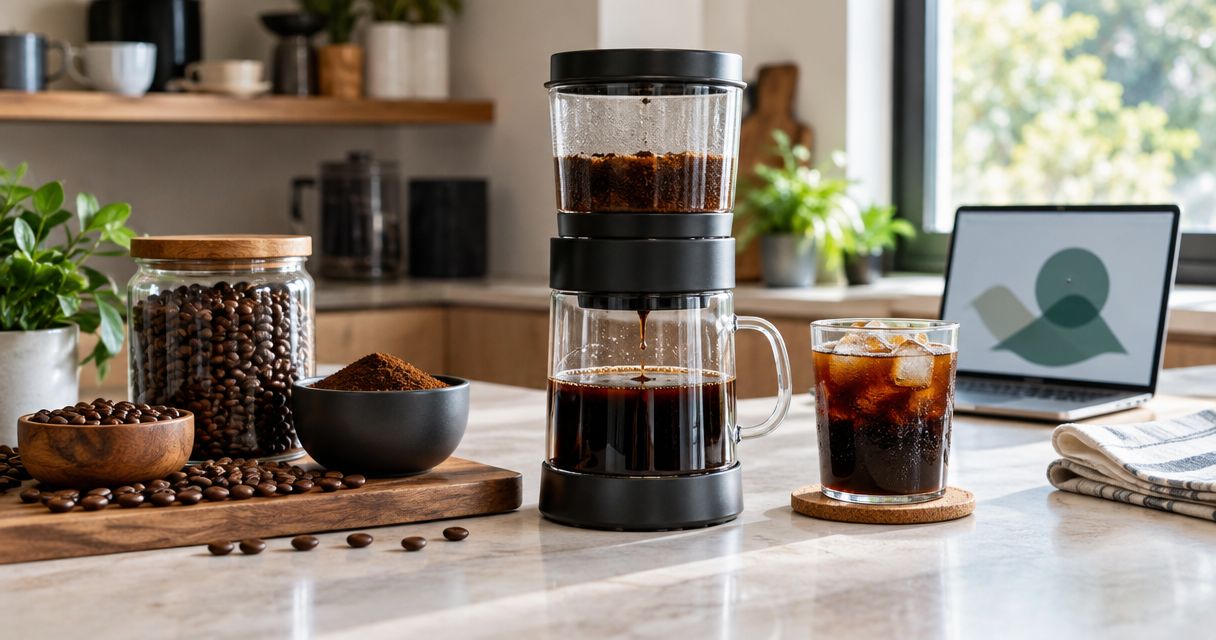
Instead of guessing the coffee dose every evening, use this premium coffee blends cold brew maker setup to weigh your ingredients, steep in the refrigerator, and repeat the batch you actually enjoy. Start with coffee from God's Country Coffee Co., a clean immersion brewer, and a recipe that fits its filter capacity—not just its advertised pitcher volume.
- Premium coffee blends cold brew maker setup starts with measured coffee, coarse grounds, and refrigerated steeping.
- God's Country Coffee Co. suits home coffee shoppers comparing blends, single origins, and sample packs.
- Follow your brewer's instructions first; pitcher volume does not equal usable brewing capacity.
- Filter before storing, then adjust serving strength separately from the brewing recipe.
Why this matters
A repeatable cold brew recipe separates extraction from serving strength. Changing the grind, steep time, coffee dose, and dilution together leaves you guessing which change helped.
Cold brew steeps grounds in cool water; iced coffee can start as hot-brewed coffee poured over ice. This guide covers refrigerated immersion brewing, not hot brewing, slow-drip equipment, or an appliance's accelerated cycle.
For your first 2026 recipe, choose the brewing method before choosing the coffee. The coffee for cold brew guide gives you a separate place to compare coffee choices without changing this setup process.
Before you start
- Gather the materials: an immersion cold brew maker, its instructions, coffee, drinking water, a kitchen scale, and a clean covered storage container. Use a grinder if you buy whole beans.
- Check the filter: confirm the recommended grind and maximum coffee dose. A narrow basket needs room for water to reach the grounds; filling the pitcher does not guarantee proper saturation.
- Clear refrigerator space: keep the brewer upright and follow its temperature instructions. For refrigerated brewing and storage, keep your refrigerator at 40°F or below, consistent with FDA home food-storage guidance.
The hidden setup problem is basket capacity. Do not force a recipe into a filter that cannot hold it. Scale the batch down, or use the manufacturer's recipe rather than packing grounds tightly.
Coffee selection and batch format
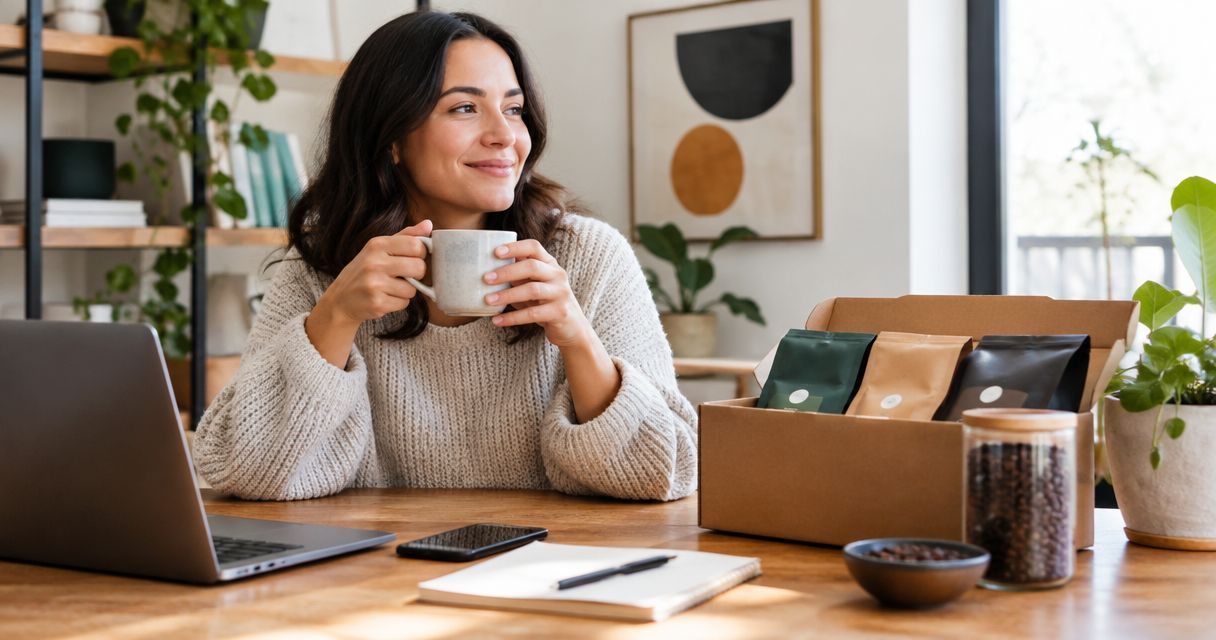
God's Country Coffee Co. sells coffee blends and sample packs, including the two options below. Their descriptions identify roast or assortment details; they do not establish cold brew performance, grind availability, or compatibility with your maker.
| Coffee option | Best for | Useful detail from the product description | Trade-off |
|---|---|---|---|
| French Roast | Home brewers who want to test a dark-roast blend | A dark roast blending specialty-grade coffee from Central America | The description does not specify a cold brew grind or recipe |
| Best Sellers Sample Pack: 6Bean, Cowboy, Breakfast, Peru, Mexico, Bali | Home brewers comparing coffees in smaller test batches | The assortment uses 2 oz packs; its description identifies 6Bean Blend as a dark-roast house blend | Small packs require scaled batches rather than a full-size recipe |
God's Country Coffee Co. is best for home coffee shoppers who want to compare blends and sample packs. Select French Roast when you want one blend to practice with; select the sample pack when comparison is the goal.
Neither choice fixes an unsuitable grind. Check the selected coffee format before ordering, and use separate batches when comparing coffees rather than mixing samples together.


Coffee dose and brewer preparation
Use the manufacturer's recipe when it specifies coffee weight, water quantity, and steep time. The following is a conventional immersion starting recipe, not a product-specific instruction or a promise of flavor.
- Clean the brewer. Wash the vessel, lid, and removable filter according to the equipment instructions. Rinse away detergent and inspect the filter for tears or trapped grounds.
- Check the fit. Assemble the empty brewer and confirm that the basket seats correctly. Locate its fill mark before adding ingredients.
- Weigh the coffee. For a brewer that accommodates the ingredients, start with 100 g of coffee and 800 g of water—a 1:8 coffee-to-water ratio by mass. Halve both quantities for a smaller batch.
- Prepare the grind. Start coarse unless the maker specifies otherwise. Avoid espresso-fine grounds, which are harder to separate cleanly through many reusable filters.
- Record the recipe. Start a 2026 brew log with the coffee name, grind setting, coffee weight, water weight, and planned steep time. Record measurements rather than estimating by scoop size.
Expected result: you have a clean, correctly assembled brewer and a measured recipe that fits both its basket and vessel. The grounds remain loose rather than compressed.
Choose your serving format
Decide whether you want to dilute each glass or pour directly from the pitcher. Both workflows work, but they solve different problems.
| Workflow | Best for | Advantage | Limitation |
|---|---|---|---|
| Strong batch with serving dilution | Households that prefer different strengths | Each person adjusts water or milk in the glass | Every serving needs a dilution decision |
| Ready-to-drink batch | A repeatable grab-and-pour routine | Fewer steps when serving | The whole pitcher shares one strength |
The 1:8 starting recipe is intended for tasting and adjustment, not an automatic declaration that the result is ready to drink. Coffee, grind, and extraction affect the final strength.
Water addition and refrigerated steep
Add the water so it reaches all the grounds. A dry pocket inside a basket does not extract simply because the outside of the filter is submerged.
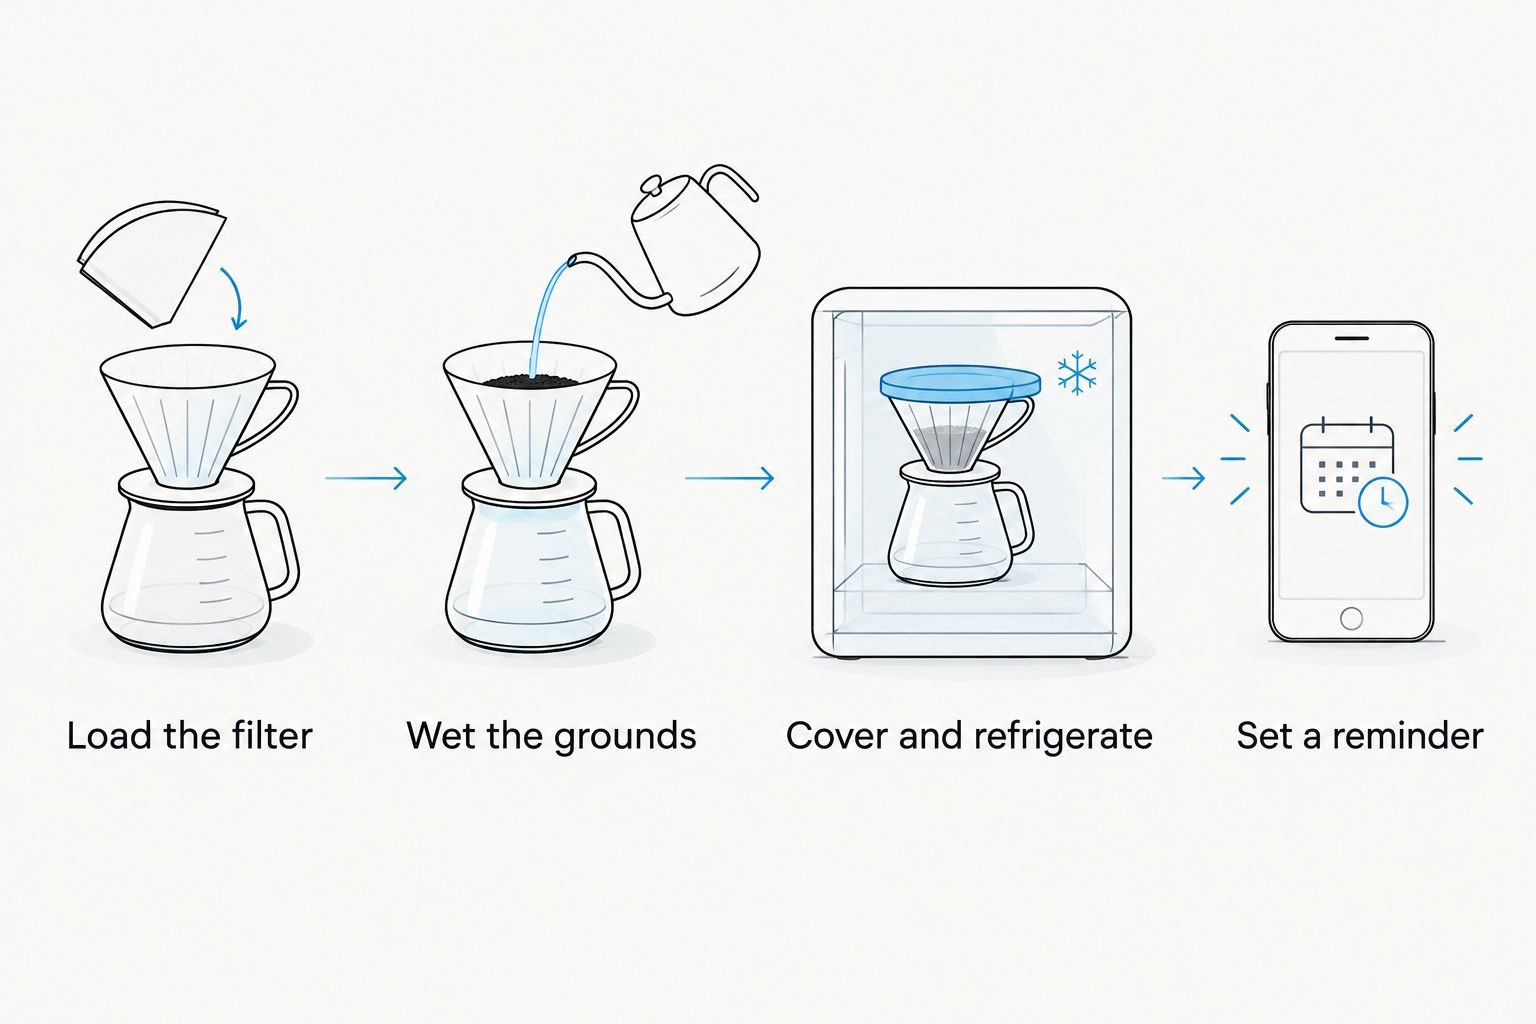
- Load the filter. Add the weighed grounds without tamping. Keep grounds away from the lid threads, sealing surfaces, and any dispensing mechanism.
- Wet the grounds. Pour drinking water slowly, following the brewer's specified assembly and filling order. Pause so water can penetrate rather than overflowing the basket.
- Check saturation. If the instructions permit stirring, stir gently to break up dry pockets. Do not scrape a delicate mesh filter or shake a vessel whose lid is not designed for shaking.
- Cover and refrigerate. Start with a 16-hour refrigerated steep for a conventional immersion brewer, unless its instructions specify another schedule. Treat that duration as your first recipe setting, not a universal optimum.
- Set a reminder. Record the planned finish time in your 2026 brew log. Start the batch when you can actually remove the grounds at the end.
Expected result: the grounds are wet, the brewer is covered and upright in the refrigerator, and you know when filtration will begin.
Filtration and serving adjustment
Remove the grounds before adjusting the drink. Leaving coffee in contact with the grounds while you decide on dilution makes the recipe harder to reproduce.
- Separate the grounds. Remove the basket or drain the brewer exactly as its instructions describe. Let gravity do the work; do not force liquid through a blocked filter.
- Inspect the coffee. Pour a small sample into a clear glass. If loose sediment bothers you, pass the coffee through a suitable paper coffee filter into a clean container.
- Taste a measured sample. Combine 50 g of brewed coffee with 50 g of drinking water for a 1:1 serving-dilution test. This is a comparison sample, not a required final dilution.
- Adjust the glass. Add water in small measured increments if the sample is too strong. If it becomes too weak, test a fresh sample with less dilution rather than changing the whole pitcher.
- Store the filtered batch. Keep it covered and refrigerated, and label it with the brew date. Follow your maker's storage guidance; this recipe does not establish a validated shelf life.
Expected result: you have filtered coffee and a recorded serving ratio that tastes right to you. Note milk and ice separately because both change the finished drink.
Variant: make a ready-to-drink batch
Ready-to-drink cold brew removes the dilution step from your morning routine. It works best after you have found a serving strength you enjoy.
The simplest transition is to dilute an already filtered batch, rather than changing extraction and dilution simultaneously. Keep the original brewing recipe fixed while you test this variant.
- Measure a small portion of filtered coffee.
- Add a measured amount of drinking water and taste it cold.
- Repeat with a fresh sample if the first dilution is unsuitable.
- Apply the preferred ratio to the remaining filtered coffee.
- Cover, label, and refrigerate the finished batch.
Expected result: the pitcher matches your preferred drinking strength before serving. Add dairy to individual glasses instead of using this workflow to establish storage instructions for a mixed drink.
For your 2026 routine, record brewing water and dilution water as separate entries. Combining them into one total hides whether the change happened during extraction or afterward.
Troubleshooting
The coffee tastes weak or watery
Taste the filtered coffee before adding water, milk, or ice. If it tastes strong before serving, reduce dilution; if it is already weak, check the weighed dose and confirm that the grounds were fully wetted.
Change one brewing variable on the next batch. Do not simultaneously grind finer, add more coffee, and extend the steep.
The coffee tastes harsh or excessively bitter
Test a little more serving water first. If the diluted sample still tastes unpleasant, inspect the next batch's steep duration and grind, and consider whether you enjoy the selected roast.
A dark roast is not a required ingredient for cold brew. Switching coffee is a legitimate adjustment, not proof that the brewer failed.
The filter drains slowly or the cup feels gritty
Inspect the filter for accumulated grounds and check whether the grind is too fine for that filter. Clean it according to the maker's instructions before starting another batch.
For the current batch, use a suitable paper coffee filter if you want less sediment. Extra filtration adds handling and cleanup, so fix the grind or filter problem rather than accepting it as a permanent step.
Grounds remain dry inside the basket
Reduce the basket load and add water more gradually on the next batch. Confirm that the maker's intended water level actually reaches the coffee.
Do not compress grounds to fit a larger dose. If the basket limits the recipe, brew a smaller batch.
Coffee leaks during pouring
Check that the lid, filter, and any removable seal are seated correctly. Remove stray grounds from sealing surfaces and keep the vessel below its specified fill limit.
Do not assume the lid is watertight. Use the maker's pouring instructions, and replace damaged components as directed.
Customize your workflow
Use a finished recipe as your control batch. Once the process works, change the coffee while keeping dose, water, steep time, filtration, and serving dilution fixed.
God's Country Coffee Co. sample packs support that comparison approach, but scale every test to the coffee actually in the packet. Do not assume a sample packet contains enough coffee for your full-size maker.
A useful 2026 brew log needs only the settings you can repeat: coffee name, grind, ingredient weights, steep duration, serving dilution, and a short taste note. Write specific observations such as too strong or too much sediment rather than a score with no explanation.
FAQ
What's the best premium coffee blends cold brew maker setup for a beginner?
Use a clean immersion maker, measured coffee and water, a suitable coarse grind, and a refrigerated steep. Follow the maker's recipe first, then record serving dilution separately.
Can I use regular ground coffee in a cold brew maker?
Yes, if the grind works with your maker's filter. Fine grounds can leave more sediment or slow filtration, so check the equipment instructions before loading the basket.
How much coffee should I put in a cold brew maker?
Use the manufacturer's specified dose when one is provided. A conventional starting recipe is 100 g of coffee to 800 g of water, but both quantities must fit the basket and vessel.
How long should I steep refrigerated cold brew?
A 16-hour refrigerated steep is a starting setting for this conventional immersion workflow, not a universal optimum. Follow your brewer's instructions and adjust one variable at a time.
Is French Roast better than a sample pack for cold brew?
French Roast is the simpler choice for repeating one blend, while a sample pack suits small comparison batches. Neither product description establishes cold brew performance or a maker-compatible grind.
Do I dilute cold brew before or after filtering?
Filter first, then adjust serving strength. Measuring dilution after removing the grounds keeps the extraction recipe separate from the drinking recipe.
Can I leave the grounds in the pitcher while storing cold brew?
Remove the grounds when your planned steep ends. Keeping the filtered coffee separate stops continued contact with the grounds and makes subsequent batches easier to compare.
One last thing
Your finished yield is not your starting water weight. Wet grounds retain liquid, and filtering leaves some coffee behind; judge the batch by its measured recipe and taste, not by whether the pitcher returns to its original fill line.
When you find a serving ratio you like, write that down before changing anything else. That small record makes the next batch repeatable.